I had a party approaching with a very particular theme… “Peace Through World Domination”, and also Tiki, as all these world-dominating hopefuls were meeting on a remote tropical island. Naturally.
(Every time I type out this theme, my brain wants to write “World Peace Through Domination”. Maybe that’s just me. 😈)
At any rate, I had the perfect outfit, as seen here.
Until, that is, the weather forecast was finalized for the day of the event…. 90+ sunny, hot degrees. Now, I’ll wear ridiculous amounts of fabric in ridiculous temperatures at the Renaissance Faire (proof!), but those are made with natural fibers, overwhelmingly, and that really does make a difference.
Allow me to set the scene…
The party is tomorrow. I’m having cup of coffee 2 of 5, and have just confirmed that it will be Satan’s-Armpit-Hot all day long. Hmm. Other “world domination” appropriate costumes I have are either just as warm, or the wrong type of domineering for this type of party.😏
However!
I recall that the other part of the theme offered up is Tiki! I have a couple old Marilyn Monroe style flared halter dresses I made in a Hawaiian flower pattern, but that seems too easy. Apparently. Because I decide, instead, to grab my fabric store coupons and go shopping! A few years ago, a fabric pattern made the rounds among some friends on Facebook; it featured sweaty, shirtless, hunky pin-up style cowboys in various states of cowboying, and was tremendously amusing. At the time I looked up the fabric and found the name of the designer, but alas I had nothing to use it for. (An argument could be made that I should have FOUND a use.) So I delve back into the printed cottons and rediscover his name; Alexander Henry. I know that the fabric store “in stock” accuracy is total garbage, so I just head out to see what I can find.


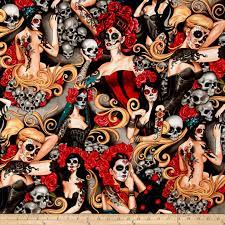
They DID have variety. A number of pin-up patterns and some vintage tattoo styled patterns caught my interest. I came close to landing on a zombie pin-up pattern, but the base color was a very drab brown. On top of that, the scale of the pattern was two to three times larger than most of the others. So I landed on a bright, summery blue with a bevy of classic pin-up ladies.
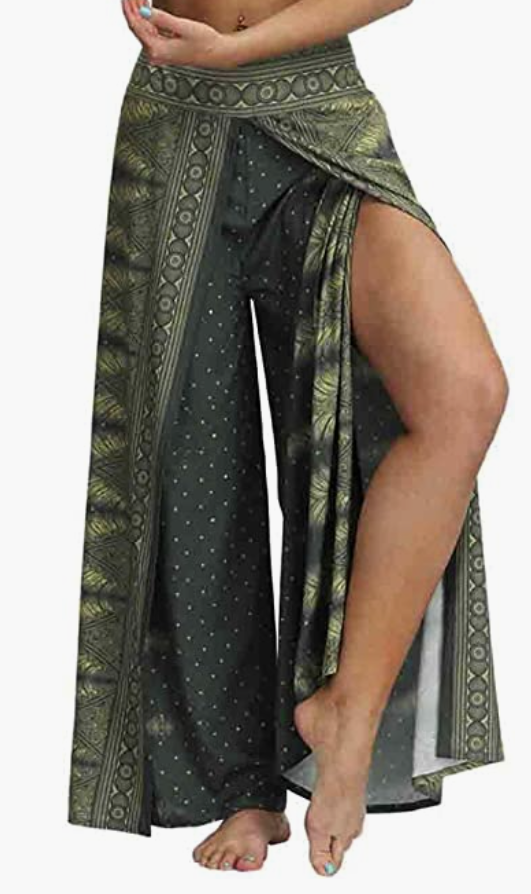
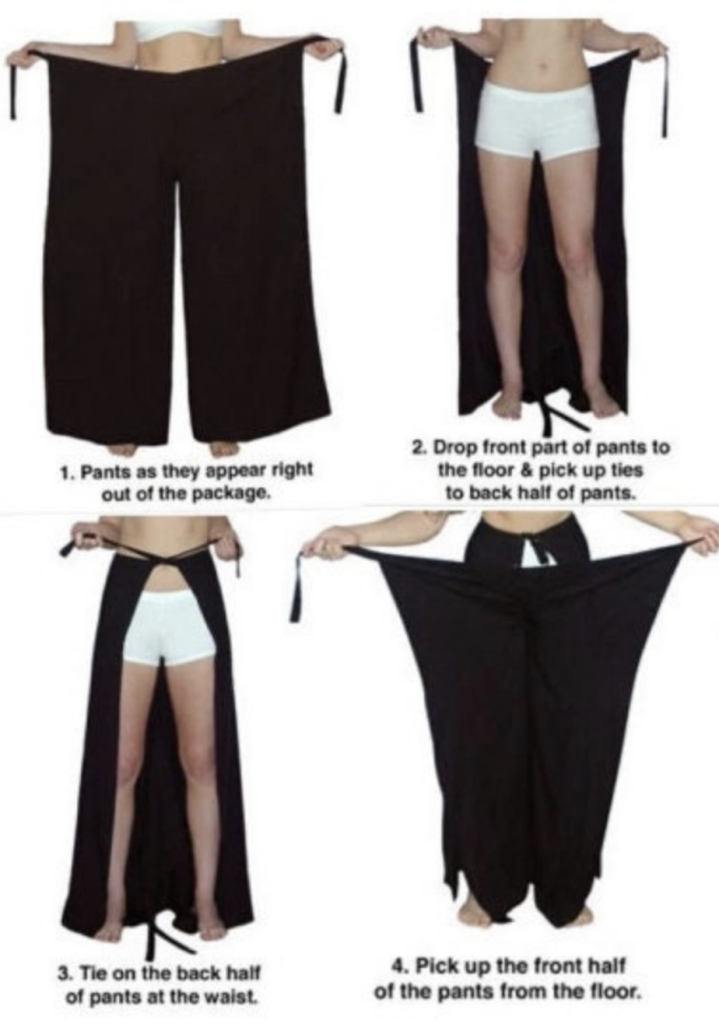
The question was then, how would I make the outfit I wanted? I recalled having seen pants that tied in back and in front, like spartan warrior pants (kind of, okay?), but I couldn’t find any patterns of just what I wanted.
So, I make it myself.


I found a couple pictures online that I used as a jumping off point to draft a pattern. Well, perhaps “draft a pattern” is generous. I just laid out the fabric, pinned the layers in place, and marked where I was going to cut it.
Note– Yes! I prewashed the fabric, especially since it was 100% cotton!
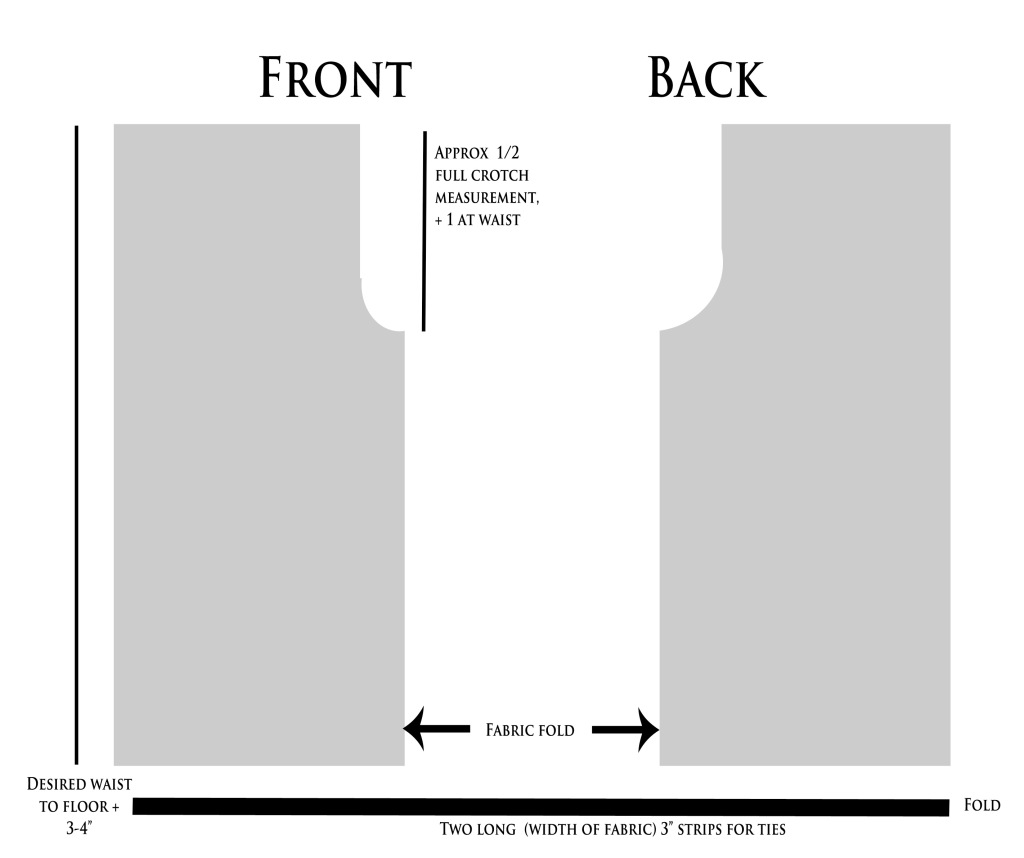
I liked the look of the style on the left, but I really wanted the double tie style. The only thing that really needed measurement was the crotch, from front to back. Then I added on 2 inches for adjustment and ease. I made sure the legs were more than long enough, and started with 2 squares, folded into rectangles. Each rectangle would get one half of the crotch measurement, with a slightly deeper curve on the booty side. Essentially, the pattern would look like this:

The crotch of the pants are the only point where the two sides are sewn together. I would be careful with the curve of the crotch- you can always cut out a deeper scoop if you need it, but it’s more work to make an overly saggy crotch fit again.
I tried the pants on at every point, pinning the tie strips in place before turning in & stitching the edges and hem of the pant pieces. I employed the help of my partner in crime, and life, in pinning the hem, and voila!
The top was even easier, believe it or not. I measured the width from the bottom of my sternum to my underarm, added an inch and doubled that. That was the width of a tube I sewed, right sides together. I made it the length of a measuring tape wrapped around my neck, across my chest and meeting in the center of my back, just as I planned the to wrap the top.
I folded the tube in half, marked the center and pleated it twice to reduce the width where it would sit at my neck. I cut a slice out of the center at a slight angle so it would wrap around my neck with less bunching. Then at the ends of the tubes I did two more pleats and inserted some extra length from the waist tie strips. Finished all the edges, and done! Of course, you’ll want to do a couple of fit checks in there, but this was the fun, breezy and comfortable result:


I will note that 100% cotton (or another natural fiber) is a great choice for this kind of project, where you don’t need stretch and the design is pretty straightforward. With all the quilting cottons, you’ll also be guaranteed a fun selection of patterns.
Coming up this fall will be lots of great posts as I create and update some sumptuous looks for the Teslacon Fashion Show!
Until then, 🔥💛🔥
Laura